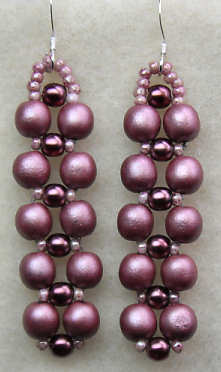
Right angle weave is tough for many (if not most) people to grasp right away, but once that “ah hah!” moment hits, the weave is very easy (and you may even wonder why you thought it was so hard to begin with). It’s a truly versatile stitch, though, so it’s well worth getting to know this beading pattern.

Floors, Ceilings and Walls
One of the best descriptions of creating a piece with right angle weave (also known as RAW) is that it consists of floors, ceilings and walls.Â
In the basic weave, there are four beads. Each unit shares at least one bead with its neighbor, and in a project, most units share all four beads with other units. If you think about a hotel, a room consists of a floor, a ceiling and four walls. Since most projects are more two-dimensional, a RAW unit has a floor, ceiling and two walls.
Still using a hotel building as an example, each room shares walls with other rooms, and the ceiling of one room becomes the floor of the one above it.
RAW Versatility
RAW is a very versatile stitch. Worked in size 15 beads with 4 beads to a unit, the stitch is close, but flixible, since it moves in all directions. Worked with 8, 12 or 16 beads in a unit, the stitch becomes open and lacey, which makes it perfect for embelishing.
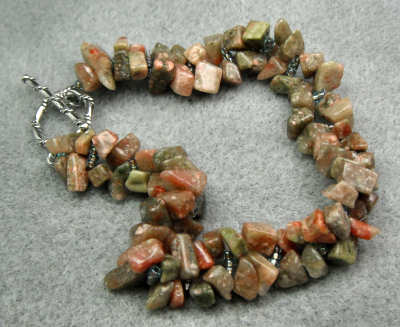
An example of how flexible the weave is, is the bracelet I call “Slink Stones” (below). Yes, it’s RAW, but it certainly doesn’t look traditional! It’s aptly named because the bracelet is incredibly slinky and comfortable to wear.

Right angle weave can also be worked as a tube. Personally, I find it faster to work the tube flat, and then zip it up, but if you want to make a specific pattern, working it as a tube from the get-go makes it easier.
The biggest versatility with RAW is that it’s one of the best beading stitches for embellishment. The open part of each unit makes for a perfect spot to add a larger bead. Ane because it is so open, the added weight of the embellishment beads doesn’t make the piece overly heavy.
Right Angle Weave Video Tutorial
Because I find it easier to show than explain, I’ve created a video (actually 2) for your viewing pleasure. I teach RAW a little differently from most people, but the way I show it helped me visualize how the thread traveled through the beads. Hopefully, you will like it too!
Here’s the link for the right angle weave video tutorial (on my other site) — pretty soon I’ll also have an earring tutorial for you as well!